Custom Stickers, How to Make Stickers Waterproof
Hey, sticker lovers! Do you want to make your own custom stickers that can withstand water, rain, and spills? Well, you're in luck, because today I'm going to show you how to make stickers waterproof with just a few simple steps and materials. Let's get started!
How to Make Custom Stickers Waterproof
First, let's start with quality. You want to know what makes a custom sticker resistant to UV? Well, it's all about the materials and the printing process.
You see, some stickers are made of cheap vinyl (such as our wall decal celebrate collection) or paper that can fade or peel off when exposed to sunlight. But not ours!
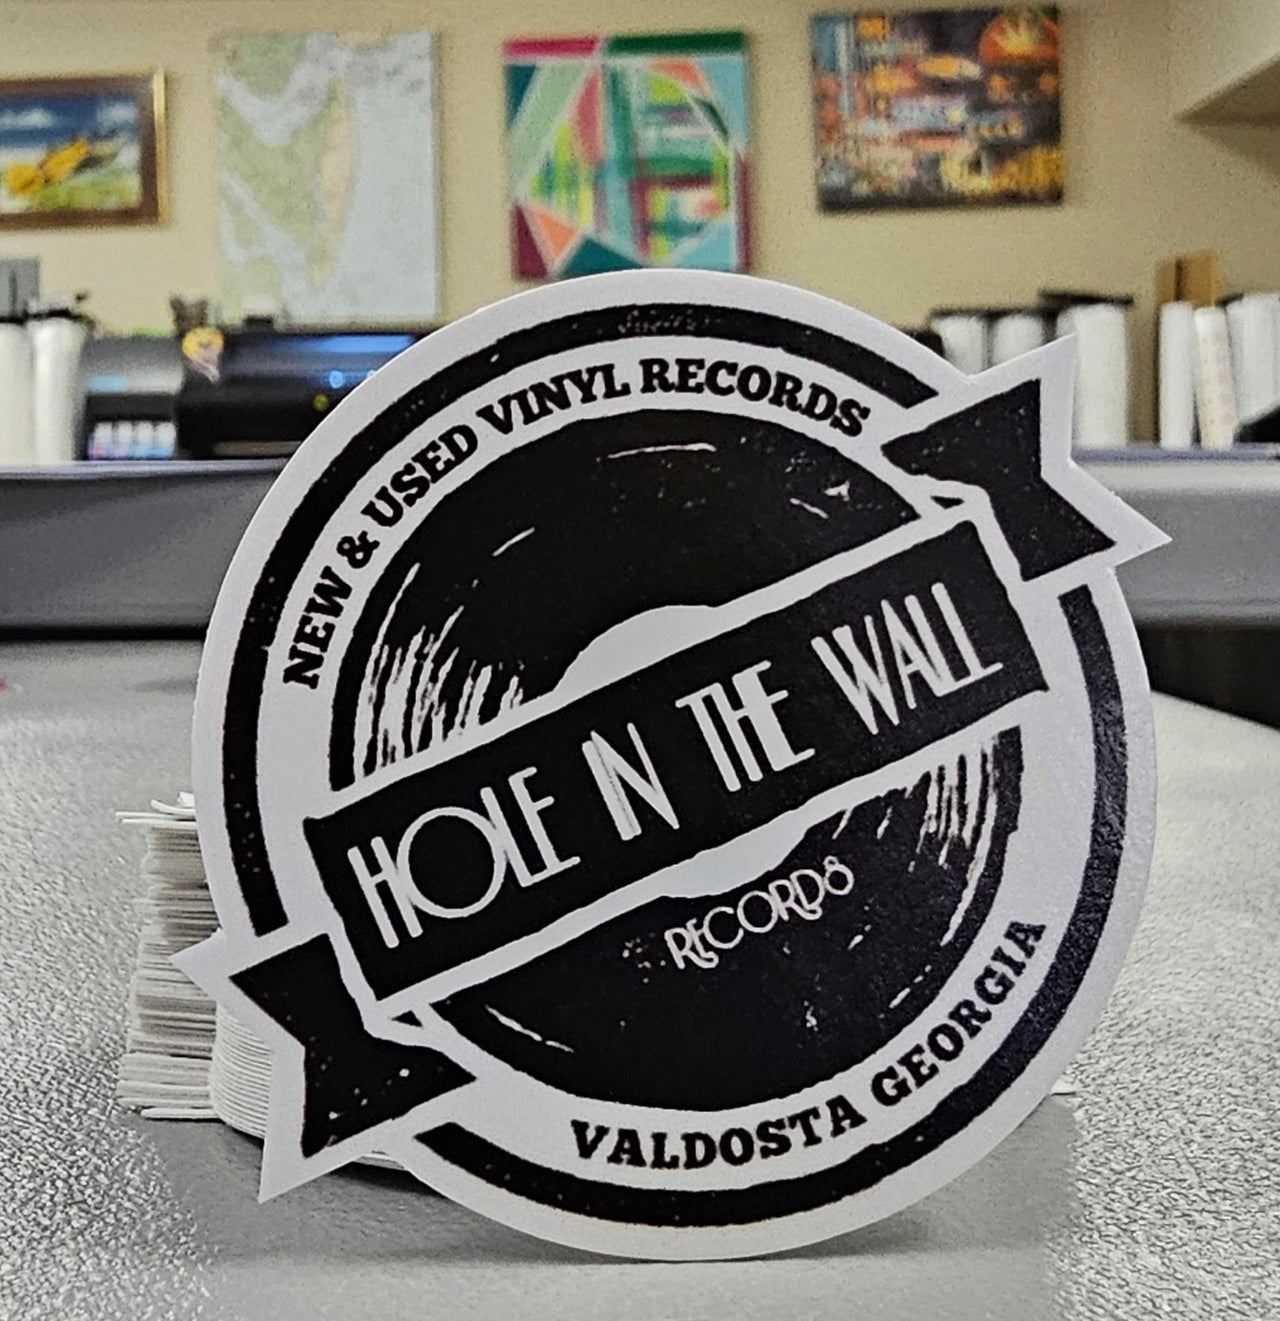
We use high-quality 3M vinyl and eco-solvent ink that can withstand UV rays for years. Our stickers are also laminated with a glossy or matte finish that adds extra protection and durability. So, if you want a custom sticker that can handle the sun, you know where to find us!
We also provide lamination that create a waterproof barrier for years to come.
DIY Waterproof Stickers
If you choose not to use our UV resistant and waterproof custom stickers (see above), you can always do it yourself. Maybe you purchased stickers for business promotion and now you want to waterproof them. Here's a DIY idea that can work.
What you'll need:
- Sticker paper (you can use any kind of paper, but I recommend glossy or matte sticker paper for the best results)
- Inkjet or laser printer
- Scissors or craft knife
- Clear packing tape
- Cutting mat or cardboard
- Ruler
Step 1: Design and print your stickers
The first thing you need to do is design your stickers using your favorite software or app. Or just upload your image on our custom sticker creator, and we'll have them shipped to you this week.
You can use any images, fonts, colors, and shapes you like. Once you're happy with your design, print it out on your sticker paper using the highest quality settings on your printer.
Step 2: Cut out your stickers
Next, you need to cut out your stickers using scissors or a craft knife. You can cut them into any shape you want, but I suggest leaving a small border around the edges to make them easier to peel off later. Be careful not to cut yourself or damage your sticker paper.
Step 3: Apply clear packing tape
Now comes the fun part: making your stickers waterproof! To do this, you need to apply clear packing tape over your stickers. This will create a protective layer that will prevent water from reaching the paper and ink. Here's how to do it:
- Cut a piece of clear packing tape that is slightly larger than your sticker.
- Place the tape over your sticker and smooth out any air bubbles or wrinkles with your fingers.
- Trim the excess tape around the edges of your sticker with scissors or a craft knife.
- Repeat for all your stickers.
Step 4: Enjoy your waterproof stickers!
You're done! You've just made your own custom waterproof stickers that you can use on anything you want. You can stick them on your laptop, phone, water bottle, notebook, car, bike, skateboard, or anywhere else you like. They will resist water, rain, and spills without fading or peeling off. You can also remove them easily if you want to change them up.
I hope you enjoyed this tutorial and learned something new. If you did, please share it with your friends and leave a comment below. I'd love to see your creations and hear your feedback. Happy sticking!